Credit unions were moving as quickly as possible to migrate to GA4 before the Universal Analytics sunset on 7/1/23. For those credit unions using LoansPQ, switching to GA4 wasn’t as easy as simply implementing the GA4 tag. There are many steps to be taken in GA4 to get the data credit unions were used to seeing in Universal Analytics. Our very own Lauren Bansbach spent months working on migrating our clients to GA4 and below are the steps she’s identified to configure Virtual PageView and Funnel Reporting to give you the data you need for your LoansPQ instance. This will be the first in an ongoing series of content to provide guidance on implementing GA4.
Migrating from Universal Analytics to Google Analytics 4 using the same virtual page tags in Google Tag Manager does not automatically feed in the same page URLs for loan application steps originally tracked in Universal Analytics.
These are the required steps to ensure that the same page URLs from the Universal Analytics account appear in the new Google Analytics 4 account.
MeridianLink/LoansPQ PageView Google Tag Manager Set Up
Step 1
Make sure that the Google Tag Manager account has the right virtual page view tags in place to send this data over to the Google Analytics 4 account.
There are two Google Tag Manager Tag Configurations that need to be in place. This first tag is used to grant permissions to allow Google Tag Manager to access the virtual page data. The second tag is used to update the existing page url parameters with the proper virtual page url details we need in Google Analytics 4.
LoansPQ PageView:
You will need the following fields added in a Google Analytics: GA4 Configuration:
- MeasurementID (Found under the Data Streams under Admin in GA4)
- Fields to Set:
- allowLinker Value: true
- cookieDomain Value: auto
- Trigger: Virtual Pageview

Step 2
Make sure that the Google Tag Manager account has the right virtual page parameters required to pull in the proper virtual page url, virtual page title, and virtual page path into Google Analytics 4.
Virtual PageView:
You will need the following fields added to another Google Analytics: GA4 Configuration:
- MeasurementID (Found under the Data Streams under Admin in GA4)
- Fields to Set:
- virtual_page_path Value: {{virtualPageURL}}
- title Value: {{virtualPageTitle}}
- {{Page Path}} Value: {{Page Path}}
- Trigger: Virtual Pageview

Step 3
This last step is used to ensure that the virtual page parameters created in the previous two steps can easily be found in Google Analytics under a new event. The event can then be tested in Google Analytics 4 using the Google Tag Manager Debugger tool to make sure that the new virtual page parameter is coming through to Google Analytics 4 with the proper virtual page urls.
Virtual Page View Event:
You will need the following fields added to a Google Analytics: GA4 Event Tag:
- Configuration Tag: (This should be the LoansPQ Pageview Tag created in step 1)
- Event Name: Virtual Page View
- Event Parameter
- page Value:{{virtualPageURL}}/{{Page Path}}
- Advanced Settings:
- Tag firing options: Unlimited (this may or may not be necessary)
- Trigger:
- Firing Triggers: Virtual Pageview

This completes the steps required to create a virtual page event from Google Tag Manager to send virtual page URLs to Google Analytics 4.
MeridianLink/LoansPQ – GA4 Testing and Custom Definition Setup for Funnel Report Configurations:
Testing an existing MeridianLink/LoansPQ application page in the Google Tag Manager Tag Assistant tool is key to knowing whether or not the tags created in the previous steps are working correctly.
Select “Preview” in Google Tag Manager and enter in the application url to test the tags. Use Google Tag Assistant (Google Chrome Extension) to enable the preview test and refresh the page.
You should have the following tags fire immediately once the application page is connected:
- Virtual Pageview
- LoansPQ Pageview
- Virtual Page View Event
In the Virtual Page View Event Tag Details, you should see the following values:
Event Parameters [{name: “page”, value: “virtualPageURL/Page Path”}

When you click on the Values option in the upper right-hand corner, you should see the proper virtual page url and page paths we need to use in Google Analytics 4:

This example shows the missing “vehicle-loan-information” virtual page path that we need to appear in Google Analytics 4.
In the next step, go to the Google Analytics 4 account and check the DebugView found under Admin>Property>Debug View.

You should start to see the Virtual Page View event appear in the recorded activity under Top Events.
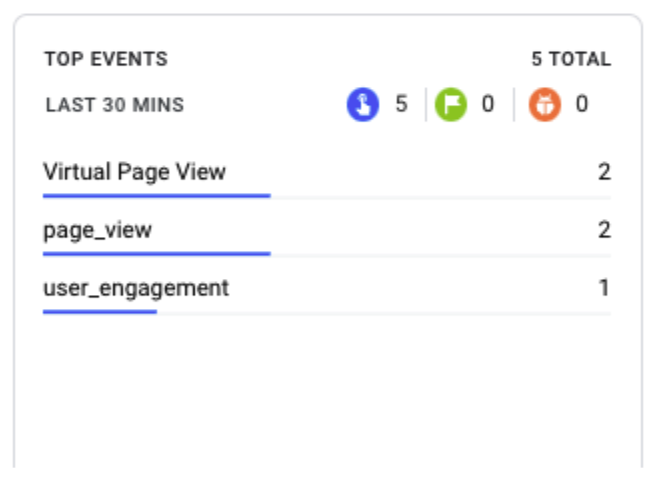
Click on the Virtual Page View event to open up the parameters.

We labeled the virtual page parameter in Google Tag Manager as “page.” Click on “page.”

The correct virtual page url that we need is now appearing in Google Analytics 4.
You can also see these results tracked under the Google Analytics 4 Realtime report to see the same event and parameter appear.
The next step in the process of tracking the virtual page urls in Google Analytics 4 is to create a custom definition that will be used in Google Analytics 4 Funnel Reports to track specific user sessions that take place within the application steps.
In Google Analytics 4, go to the Admin section. Click on the “Custom definitions” button.

The next step is to create a custom dimension that will allow you to accurately filter out specific virtual pages in the Google Analytics Funnel Exploration Reports.
Select – Create custom dimensions in the upper right corner.
You will need to enter the following information:
- Dimension Name: Virtual Page Views
- Scope: Event
- Description (optional) Specific virtual page urls used in the application steps for all loan products.
- Event parameter: page

Click Save.
Your Custom definitions should appear like this:

The next step in the proces is to configure the Google Analytics Funnel Report using the new custom definition to filter out specific application steps by each virtual page url in the process to get the most accurate data in the report.
In Google Analytics 4, go to “Explore” on the far left side of the menu options beyond the Admin settings.
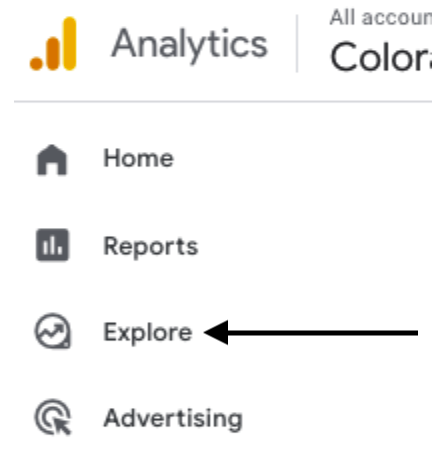
You should come to a page that looks like this:

Select the Funnel exploration template to build your report with pre-existing segments, dimensions, and metrics.
Give your report a name that aligns with the specific product application you are building the funnel for.
Session Starts are the closest user metric we have in Google Analytics 4 that resembles all user data segments in Universal Analytics. You will need to create this segment.
In the report, select the “+” icon next to Segments.
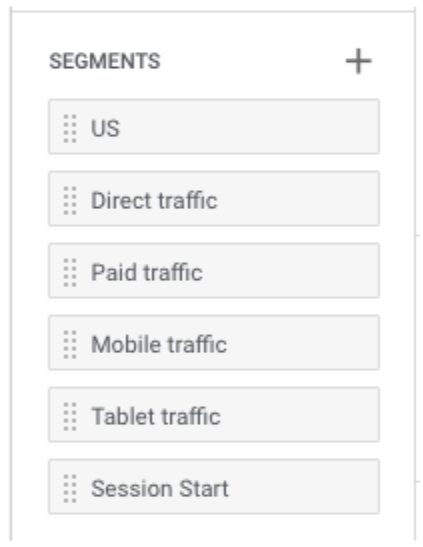
We need to build the session start segment.

Select the Session Segment option at the top.

You should come to this page:

Name Your Segment “Session Starts”
Select “Add new condition” search for session and find “session_start.”

The summary report on the far right will estimate how many users from all users can be segmented into this new segment.
Click “Save and apply”
Next, drag and drop the new “Session Start” segment into the empty Segment Comparisons section.
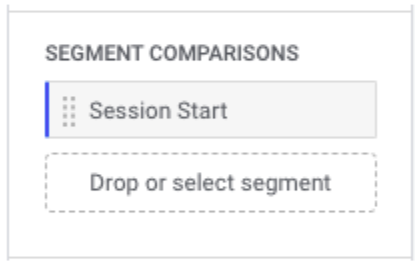
This section will be used to populate the sessions measured in the Funnel Exploration Report. You can use replace it or add additional segments to this report for comparisons.
The next step in building a LoansPQ Funnel Report is to configure all of the steps that are required to complete an official product application. I would recommend referring back to any pre-existing Universal Analytics accounts that may have set up specific goal completions with funnel steps as a point of reference for building out these reports.
Please keep in mind that the Google Analytics 4 Funnel reports does limit you to 10 steps only as of now and data will take between 24 – 48 hours to populate in the reports once all of the steps are built out.
Here is where you will start building your application steps:
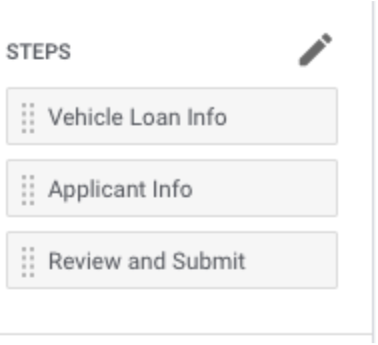
Click on the pencil icon.
In this section, we will be using the custom dimension that we created earlier called ”Virtual Page Views” under the “Add new condition” field.

Custom > Virtual Page Views

This will tell Google Analytics to filter out specific virtual page URLs that are being tracked under the new “page” event parameter.
The next step is to add a filter for specific application URLs found in the original Universal Analytics funnel steps. In this auto loan application example, the virtual page URL contains:
/vl/VehicleLoan.aspx/vehicle-loan-information
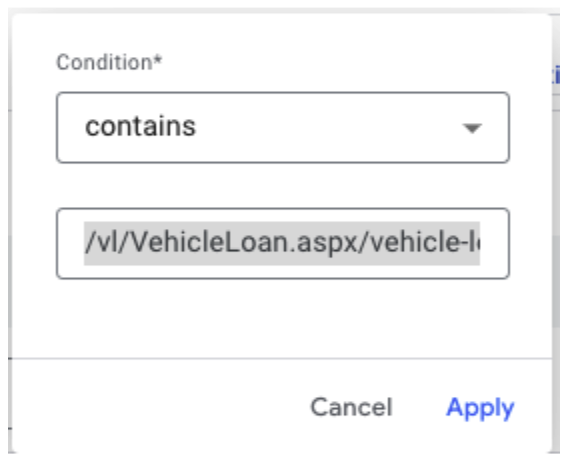

Repeat this process for each step and click “Apply.”
Now we wait 24 – 48 hours for the report to process the data in the new exploration report.